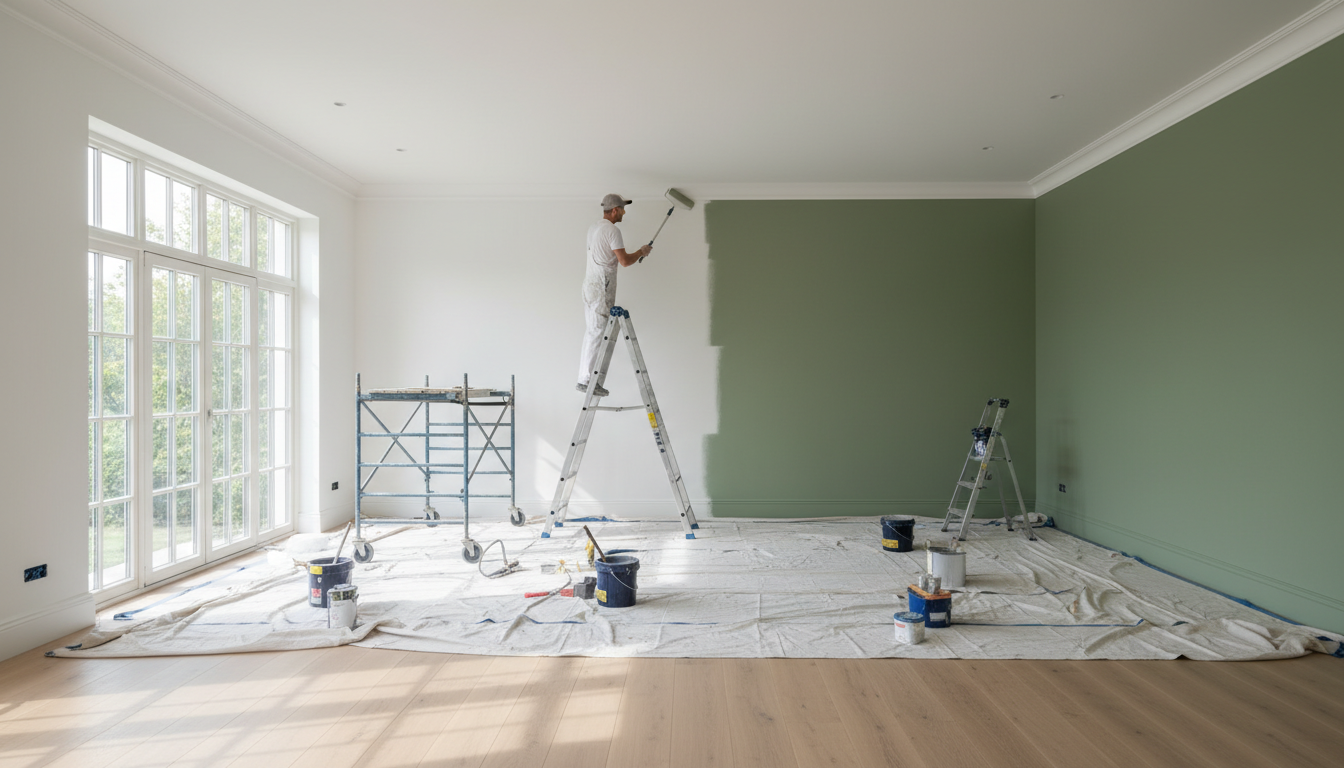
Learning how to prepare to paint interior walls involves clearing the workspace, repairing surface imperfections with spackle, and sanding for a smooth finish. Additionally, you should clean the surfaces to remove dust or grease and apply primer to ensure even paint adhesion and long-lasting results.
Most homeowners approach a painting project with excitement for the new color; yet, they often find themselves disappointed by visible drywall patches, peeling edges, or rough textures that a fresh coat of paint simply cannot hide. These aesthetic frustrations stem from the common misconception that the brushwork is the most critical phase of the job. At Tre Residential Painting LLC, we understand that a luxury finish is earned long before the first drop of paint hits the surface. Preparation constitutes eighty percent of a professional outcome, and overlooking these foundational steps is the primary cause of premature coating failure. In this guide, we will share the exact protocols our team uses to prepare interior walls for a gallery quality result. You will learn the correct methods for protecting your space, repairing structural imperfections, and executing the critical sanding and cleaning phases that ensure lasting adhesion.
Why Wall Preparation Is 80 Percent of a Professional Paint Job
Many homeowners assume the professional look comes from a steady hand or an expensive brush. While technique is important, the true secret lies in the hours of labor performed before the first lid is ever pried open. People often ask, do you have to prep a wall before you paint it? The answer is a definitive yes. Skipping this stage is the most common reason for paint failure.
Without proper groundwork, you risk poor adhesion leading to peeling, uneven textures that catch the light, and visible patches where the paint absorbs differently into the surface. At Tre Residential Painting LLC, we understand that Chicago architecture requires a nuanced approach. A historic bungalow in Logan Square with aging plaster requires vastly different stabilization techniques than a modern drywall high-rise in the West Loop.
Our professional interior painting services are built on the foundation of meticulous prep work. This dedication is why we consistently receive five-star reviews from clients who value a finish that looks sharp for years rather than months. Understanding how to prepare to paint interior walls correctly ensures the final color looks as good in five years as it does on day one. If you are ready to transform your space, you can contact our team to discuss the specific requirements of your property.
Step 1: Clear the Area and Protect Your Surfaces
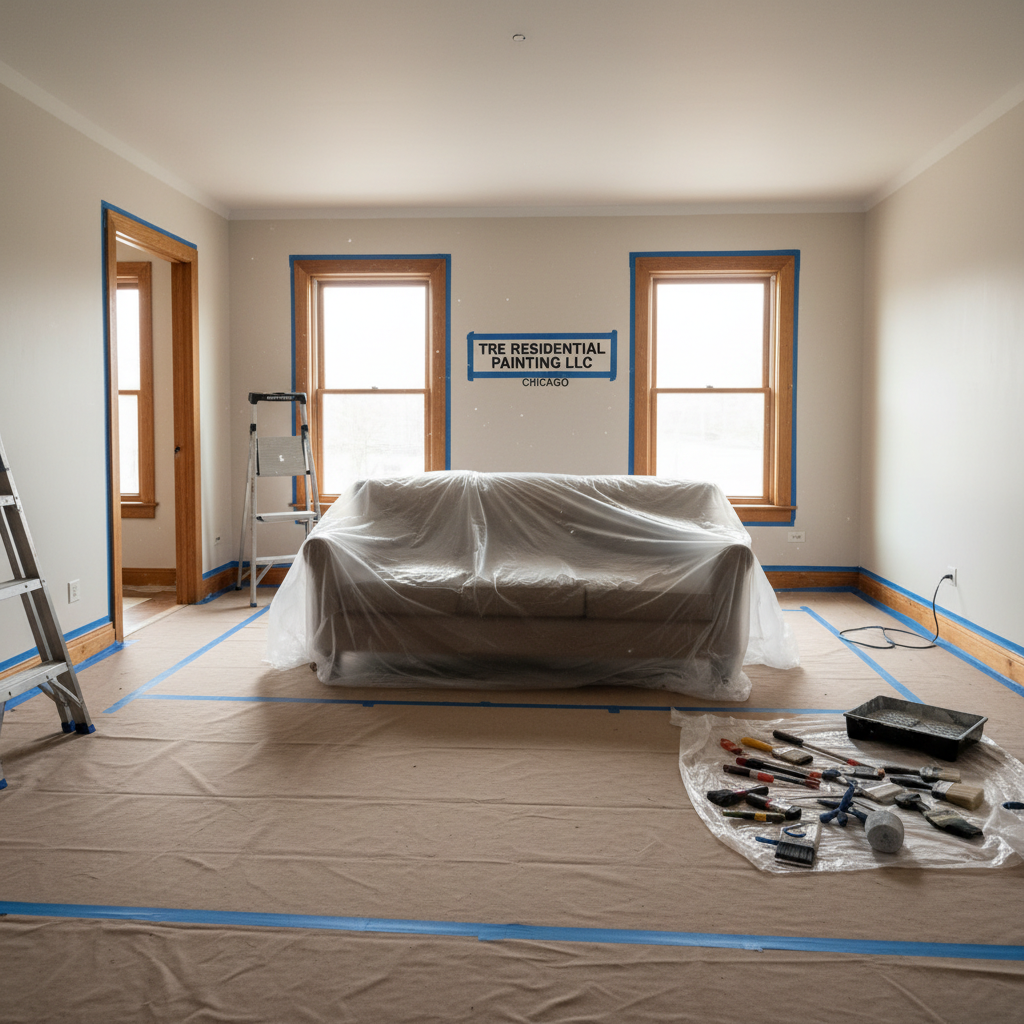
Before the first drop of paint hits the wall, you must secure the environment. Learning how to prepare to paint interior walls begins with a clear workspace. Follow this checklist to protect your property:
Move all furniture to the center of the room.
Cover furniture and large items with heavy duty plastic sheeting.
Remove window treatments, wall art, and area rugs.
Unscrew all electrical outlet covers and switch plates.
At Tre Residential Painting LLC, we use professional grade canvas drop cloths for flooring. Unlike thin plastic, which is slippery and easily punctured by ladders, canvas stays in place and absorbs accidental drips. We also prioritize removing hardware, such as door knobs and hinges, rather than simply taping around them. Taping often leaves visible ridges or small gaps of old color. Removing the hardware ensures the cleanest possible lines and a finish that mirrors the quality seen in our five-star reviews. This meticulous setup is standard for our professional interior painting services across Chicago.
Step 2: How to Clean Walls Before Painting
Once the room is secured, the next critical phase in how to prepare to paint interior walls is removing the invisible barriers to adhesion. Dust, cobwebs, and specifically oils will prevent paint from bonding correctly to the substrate. The fastest way to clean walls before painting in low traffic areas, such as guest bedrooms or formal dining rooms, is with a simple vinegar and water solution. We recommend a ratio of one part white vinegar to two parts warm water. This mixture cuts through light surface films effectively without leaving a soapy residue that could interfere with the finish.
Residential kitchens and high traffic hallways require a more aggressive approach. In these environments, cooking grease and skin oils accumulate on the surfaces, particularly around door frames and light switches. For these stubborn contaminants, our team uses TSP (trisodium phosphate) or a high quality TSP substitute. Paint is chemically unable to bond to grease; attempting to paint over an oily wall will eventually lead to "alligatoring" or premature peeling. This focus on chemical cleanliness is a hallmark of our professional interior painting services and a primary reason we maintain so many five-star reviews from Chicago homeowners. If you are unsure if your walls require heavy degreasing, you can contact our team for a professional assessment of your space.
Step 3: Repairing Drywall Damage and Imperfections
With the surfaces clean, every imperfection becomes visible. Identifying and repairing these flaws is a vital part of how to prepare to paint interior walls to ensure a smooth, uniform surface. Small nicks, nail holes, and minor scuffs are best handled with a high quality lightweight spackle. A professional secret for these small repairs is to slightly overfill the hole. Spackle naturally shrinks as the moisture evaporates; by leaving a small mound above the wall surface, you ensure that the patch remains perfectly flush with the wall after it is processed, rather than creating a shallow crater that catches the light.
Larger damage requires a more robust approach. If a hole is wider than an inch, a simple layer of spackle will likely crack or fall out over time. In these cases, we use a self adhesive fiberglass mesh patch followed by two to three thin coats of joint compound. We feather the edges of the compound several inches beyond the patch to blend the repair into the surrounding wall. This structural reinforcement prevents future failing and is a standard part of our professional interior painting services.
Chicago residents in older homes must also differentiate between drywall and plaster. Plaster cracks often signify the material has pulled away from the wood lath behind it. Unlike drywall, which can be taped and mudded, failing plaster may require specialized plaster washers or structural adhesive to stabilize the wall before any aesthetic repair is made. Our team has extensive experience navigating these historic materials, which contributes to our many five-star reviews from local property owners. If you notice significant cracking or crumbling in an older property, you should contact our team to evaluate if the substrate requires more than a simple cosmetic patch.
Step 4: Sanding for Maximum Adhesion
Once your repairs are dry, the next phase of learning how to prepare to paint interior walls involves creating a mechanical bond. Sanding is not just about smoothing out the spackle you just applied; it is about ensuring the new layer of paint actually stays on the wall. A common question we hear from homeowners is regarding sanding walls before painting what grit is best for a smooth finish. For the initial pass over dried joint compound or spackle patches, we recommend starting with 120-grit sandpaper. This grit is aggressive enough to level the patch quickly without gouging the surrounding drywall or plaster.
After the patches are flush, the entire wall surface should receive a light scuff sanding with 220-grit sandpaper. This step is what separates a DIY attempt from our professional interior painting services. Even if a wall looks smooth to the naked eye, it often has a slight sheen from the previous coat of paint. Scuff sanding breaks that surface tension and creates a microscopic "tooth" for the new paint to grab onto, preventing the finish from sliding or peeling later. For Chicago homeowners in modern high-rises or vintage condos, this mechanical bond is non-negotiable for a lasting result. This level of detail is a standard part of our process and contributes to our numerous five-star reviews across the city. If you want a finish that stands the test of time, you can contact our team to handle the labor-intensive prep for you.
Step 5: The Often Forgotten Dust Removal Phase
Sanding creates a fine particulate that settles on every surface, especially within the newly created "tooth" of the wall. If you are wondering what to do after sanding walls before painting, the answer is a rigorous two step cleaning process. Skipping this stage means the dust will mix with your wet paint, resulting in a gritty, grainy texture that is impossible to fix once dry. This is a common pitfall when learning how to prepare to paint interior walls.
At Tre Residential Painting LLC, we first use a vacuum equipped with a soft brush attachment to remove the bulk of the debris from the walls, ceiling corners, and baseboards. Following this, we perform a detailed wipe down using a damp microfiber cloth or a professional grade tack cloth. This second pass captures the microscopic dust that a vacuum often misses. Achieving this "clean room" environment is a non-negotiable standard for our professional interior painting services. This commitment to a smooth, debris-free substrate is why we consistently earn five-star reviews across Chicago. If you prefer to avoid the mess of the dust removal phase, you can contact our team to manage the entire process.
Step 6: Professional Caulking for Sharp Lines
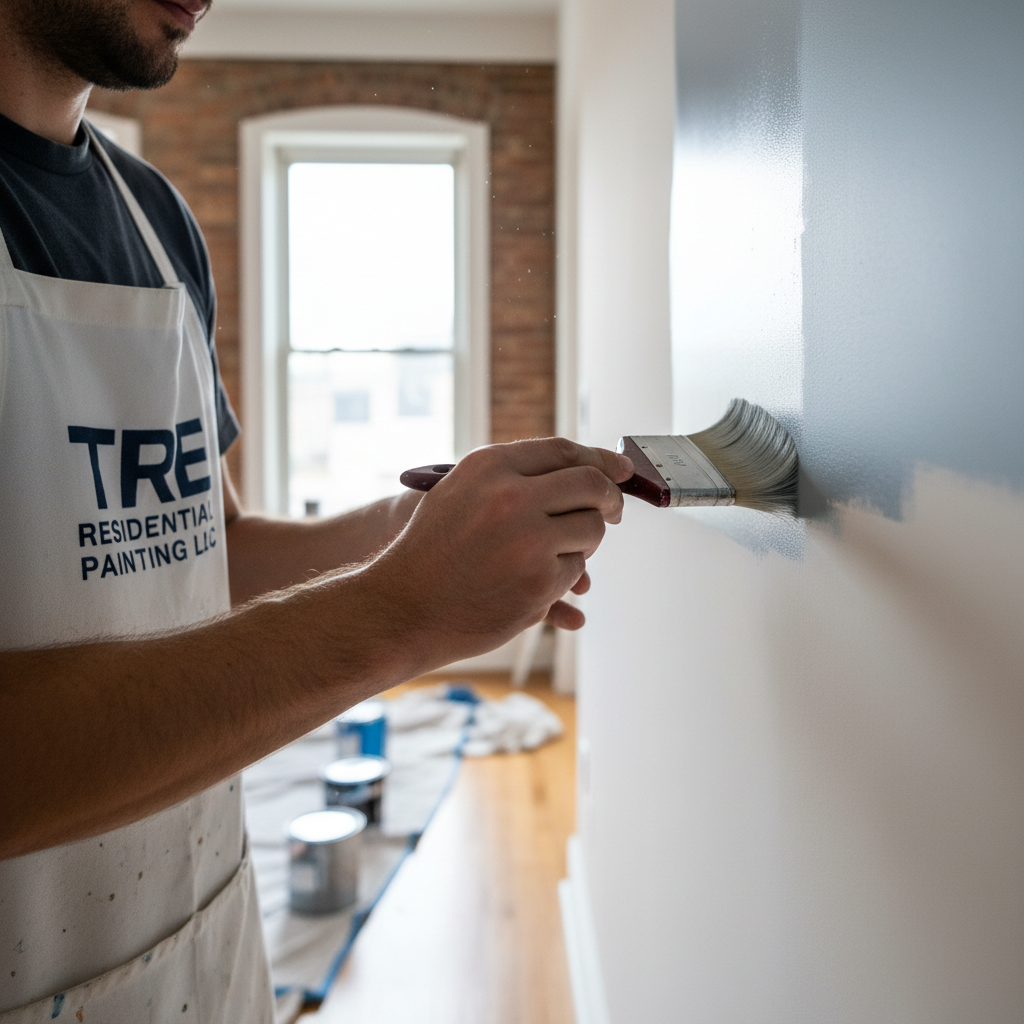
Once the dust is cleared, you may notice hairline gaps where the walls meet the ceiling, baseboards, or crown molding. If you are wondering how do I get a perfect line between my wall and ceiling, the answer is professional grade caulking. Even the steadiest hand cannot create a clean transition if a physical gap exists; these crevices create dark shadows and ragged edges that make a room look unfinished.
Our professional interior painting services include applying a thin bead of high quality, paintable acrylic caulk to every joint. We cut the caulk tube at a 45 degree angle to create a small opening, then smooth the bead with a damp finger or sponge to ensure it fills the void completely. This step is a vital part of learning how to prepare to paint interior walls because it creates a seamless bridge for the paint to cross. This level of precision is a major factor in our five-star reviews throughout Chicago. If you want crisp, architectural lines in your space, you can contact our team to handle these intricate finishing touches.
Step 7: Identifying When to Use Primer
The final stage in understanding how to prepare to paint interior walls involves deciding when a dedicated primer is necessary. While many consumer products are marketed as 'self priming,' professional results often require a separate sealing layer to ensure long term adhesion and color accuracy. Primer is mandatory when transitioning between drastically different colors, particularly dark to light. Without this barrier, the original pigment can bleed through, requiring multiple unnecessary coats of expensive topcoat.
Specific surface conditions also dictate primer use. For Chicago homeowners dealing with vintage properties, smoke or water stains must be sealed with a stain blocking primer to prevent them from migrating through the new finish. Similarly, glossy surfaces like old oil based trim or high sheen kitchen walls require a bonding primer to create a surface the new paint can grip.
Perhaps most importantly, primer is essential over fresh drywall mud or plaster repairs. These materials are highly porous; if left unprimed, they will absorb the moisture from the paint faster than the rest of the wall, resulting in a blotchy, uneven finish known as 'flashing.' Our professional interior painting services utilize the correct primers for each specific substrate, ensuring a uniform sheen that earns us five-star reviews. For an expert evaluation of your home's surfaces, you can contact our team to ensure your project begins with the right foundation.
Achieving a professional finish starts long before the first coat of paint touches the wall. By focusing on thorough cleaning, careful repairs, and patient sanding, you can create the perfect canvas for your home. While these steps are essential for quality results, the process can be time consuming and physically demanding. If you want expert help ensuring your home looks its absolute best, feel free to explore our Services to see how we can assist. We take care of every detail so you can enjoy a flawless transformation without the stress.